Organizing My Fabric Stash

Tags

, , , , , ,

As I started to unpack my craft/sewing room, I remembered this great pin I found on Pinterest for storage solutions and thought I’d use some of them in my new space!

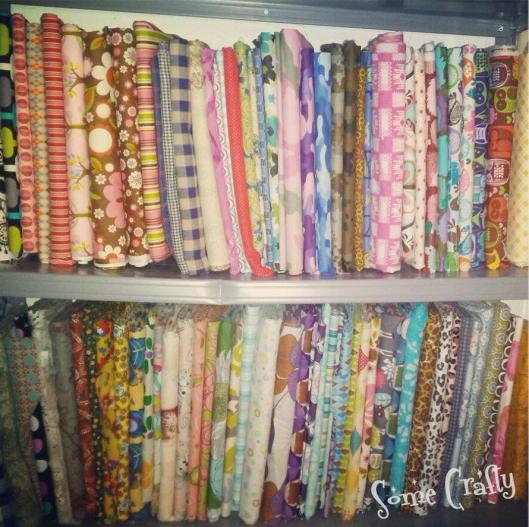
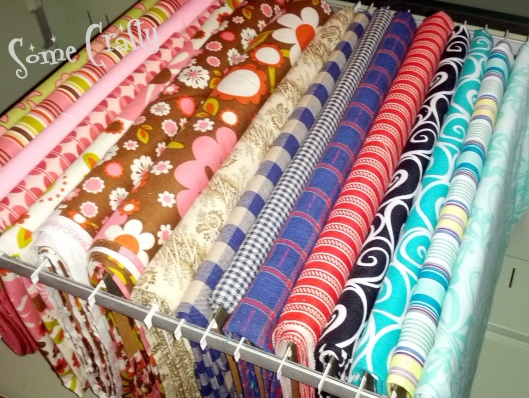
First of all, I had mini-bolted all of my cottons just before the move.  Super simple and makes for easy organization!  Just use comic book boards!  They are acid free and a great size for making your fabrics look neat and tidy! (I’m pretty sure I saw this idea here)  Simply fold your fabric in half (salvaged edge to salvaged edge) and then half again.  Then place the comic book board at one end and start folding your fabric over the board for the entire length of your fabric!  Voila!  Mini-bolts!!  Then you can stack them in shelves for a pretty way to store your fabric.

Mini-bolted fabric stash

Mini-bolted fabric stash


Now for this idea, you don’t need to have your fabric mini-bolted…but it sure helped. 
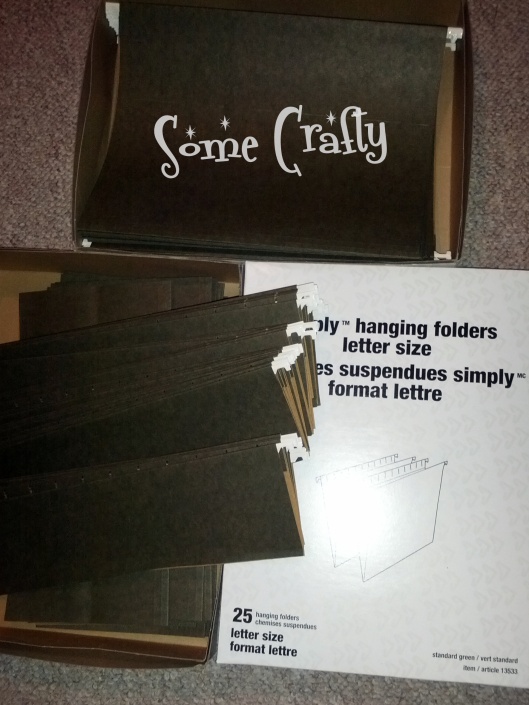
Hanging File Folders

Hanging File Folders

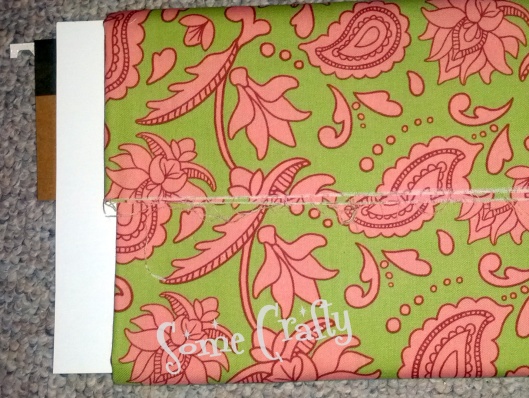
Mini-bolted and ready to hang

Mini-bolted and ready to hang


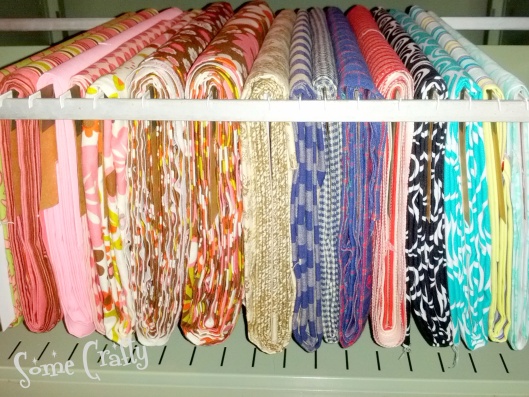
I simply cut the hanging file folders down and slid them into the mini bolts.  If you don’t have your fabric already mini-bolted, you can cut the folders in half (giving you two hangers) and bolt around each piece.  Easy Peasy!
Neat and tidy

Neat and tidy

Hanging pretty

Hanging pretty


Now to organize my knits and upholstery fabrics!

~Angie

Unpacking, Decorating our Mantle and Making a Halloween Minion!

Tags

, , , , , , , , ,

Hi All!! We had our furniture delivered a little over a week ago now and we’re slowly unpacking and settling in.  We love our new home and are lucky to be in such a great and friendly neighborhood.  We’ve unpacked the main floor but I’m leaving my sewing and craft area for last…maybe. 

So far, I’ve been able to decorate a few spaces and am in love with our mantle.

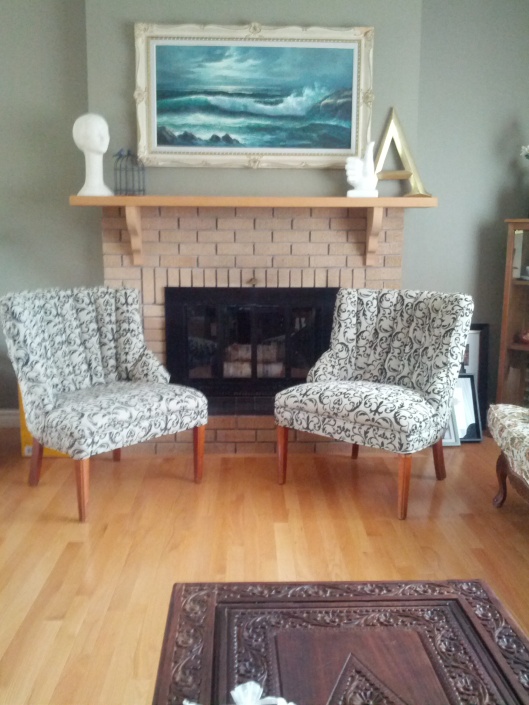
The Mantle

The Mantle

I picked up the picture a while ago at Value Village for $15 and I’m so happy to finally be able to hang it!  The ceramic bust was a curbside find.  The birdcage was a clearance item and the letter A was a thrift store purchase.  Finally, the “Thumbs Up” I found at Winners.  And don’t forget the chairs that I re-upholstered this past spring. Don’t they look amazing in front of the fireplace?

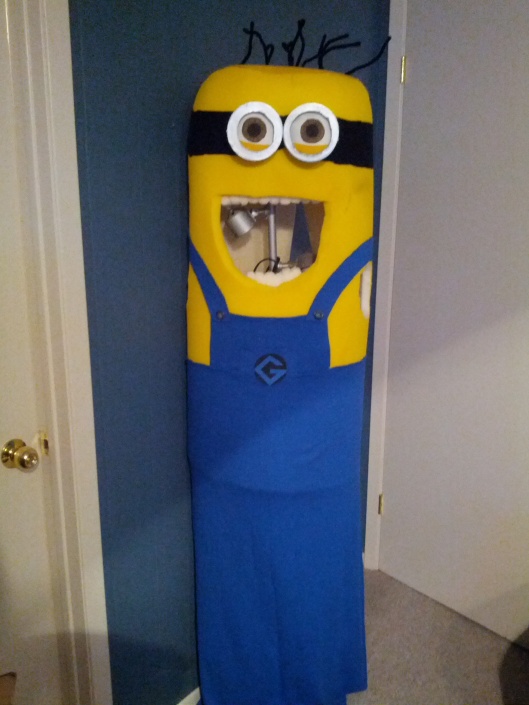
On top of unpacking the house, I needed to get moving on finding costumes for the boys since Halloween is only a week away.  I came across this fantastic tutorial and just had to try it! 

Almost finished the Minion...just need to make the overalls!

Almost finished the Minion…just need to make the overalls!

What do you think? 
Just add child and be ready to have the best Halloween ever!

Just add child and be ready to have the best Halloween ever!

Ah-Mazing idea…and great tutorial by the owner of Mink’s Paperie!

Hopefully I’ll have the house unpacked before Christmas!
~Angie

What We’ve Been Up To

After a crazy summer of checking off items on our Summer Bucket List, and Hubby’s course finally finished, we are getting ready to move back to Nova Scotia!  We are super excited about this…not only because we are moving home, but because we have purchased our first home!  I can’t wait to get started on all the DIY projects I have in mind that will turn our house into our home. 

This exciting adventure means that I will not be able to post frequently at first, but I promise I will share all of the ideas and projects we will be working on. 

~Angie

Backyard Giant Jenga

Tags

, , , , , , , , , , , , , , ,

Some Crafty

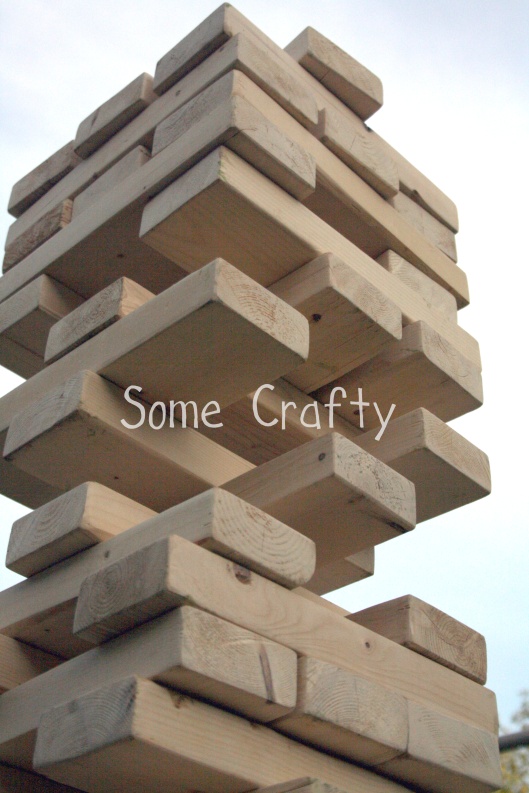
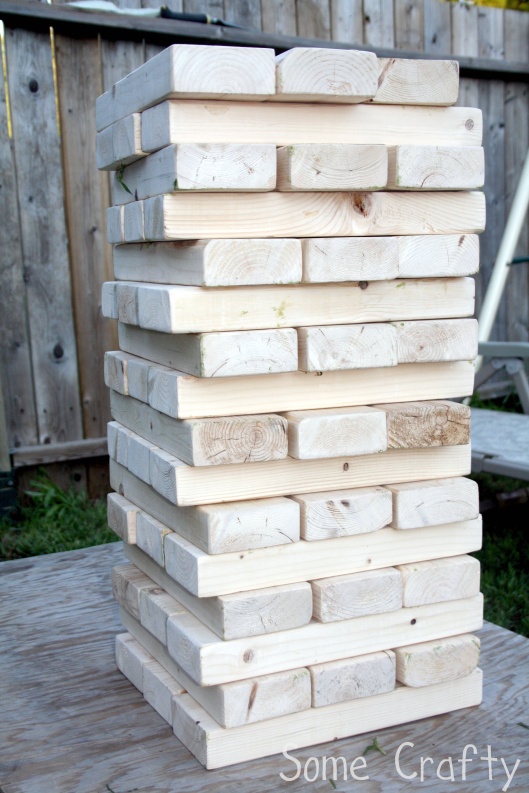
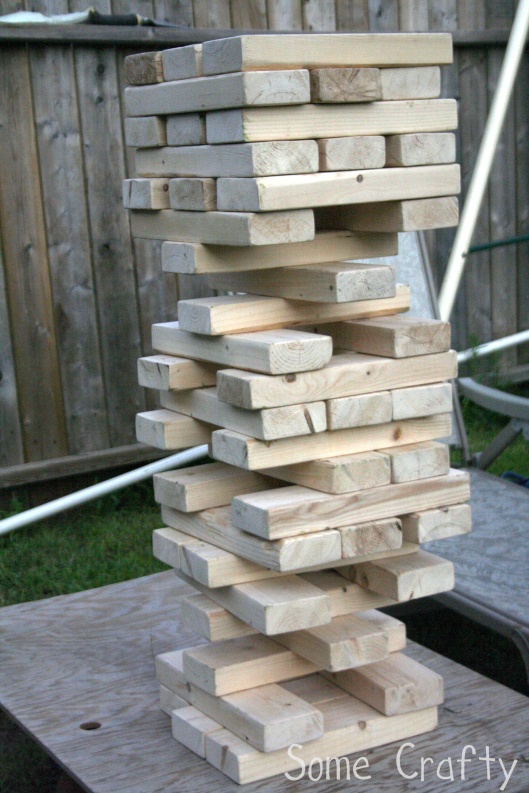
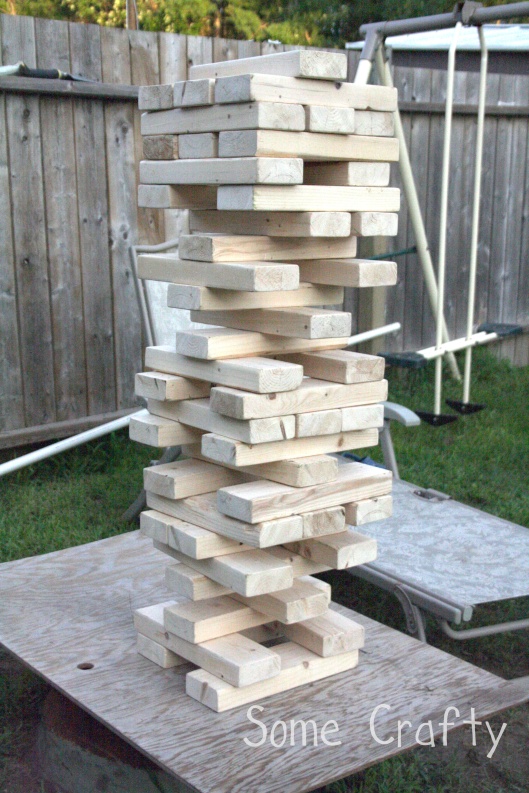
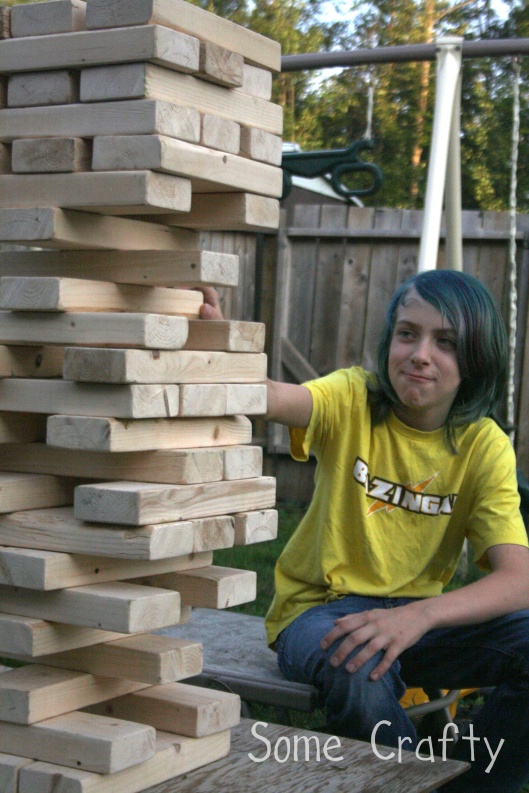
Looking for something fun to do in your backyard this summer? A great family game? Or perhaps something to entertain your guests at a bbq? Backyard Jenga is super easy to make, costs less than $20, and provides hours of fun!

Backyard Fun!

Backyard Fun!

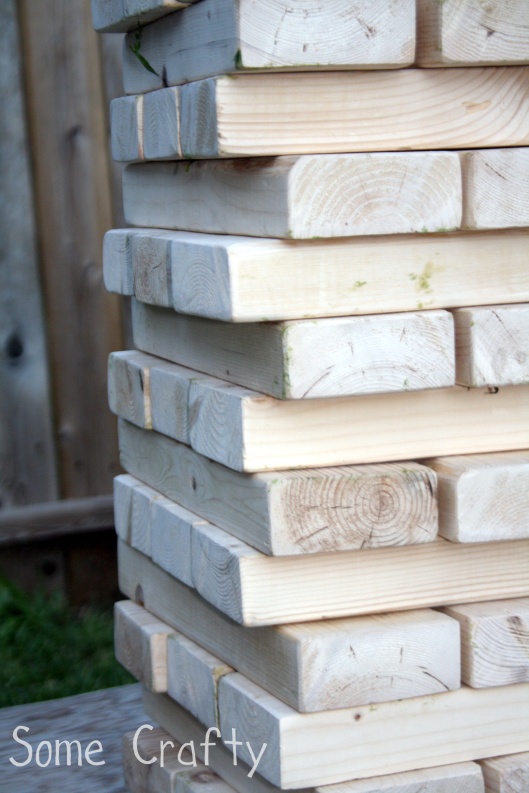
All you need are some 2×4’s, a saw, and some sandpaper! I used six 2x4x8’s and measured and cut them into 12″ pieces. This gave me 48 pieces, but you could add more if you wanted. Then, I sanded each 12″ piece smooth to make it easier to slide and remove from the stack. It also helps if you round out the edges.

There are many different ways to make this giant version. If you wanted to make sure your blocks will stack into a perfect square (or cube), just lay three 2×4’s side by side and measure across them to determine how long the smaller pieces should be cut.

Some Crafty

The rules are the same are regular Jenga, except that you can use two hands when removing pieces. You can even make your own variations to the rules! A quick google search will give you some ideas. Do what works for you and your family.

Some Crafty

Some Crafty

Some Crafty

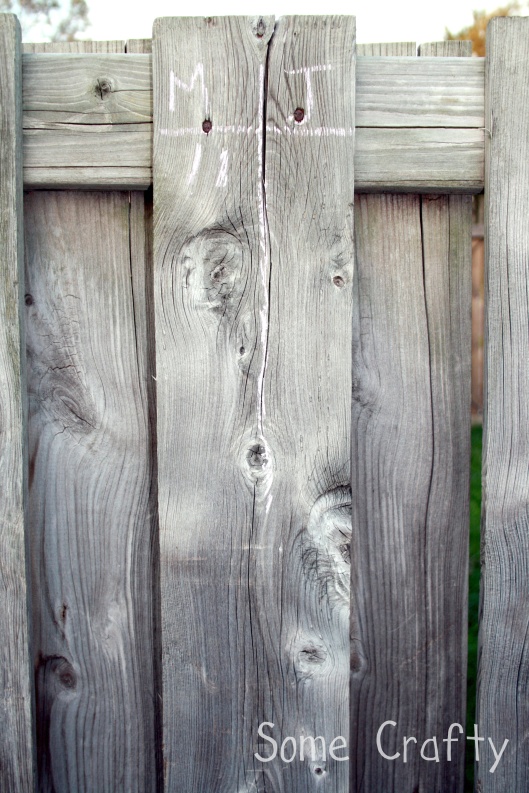
And for an easy way to keep score, we used our fence as a chalk board!

Keeping score on the fence...Best 3 out of 5?

Keeping score on the fence…Best 3 out of 5?

Have fun!!
~Angie

Linking up with:

http://www.redouxinteriors.com/2013/07/link-party-114-and-le-fabulous-features/

http://www.homestoriesatoz.com/uncategorized/tutorials-tips-link-party-120.html

http://www.thecottagemarket.com/2013/08/junkin-joe-linky-party-features-and.html

Quick Craft: Water Squirter Target Practice

Tags

, , , , , , , , , , , , ,

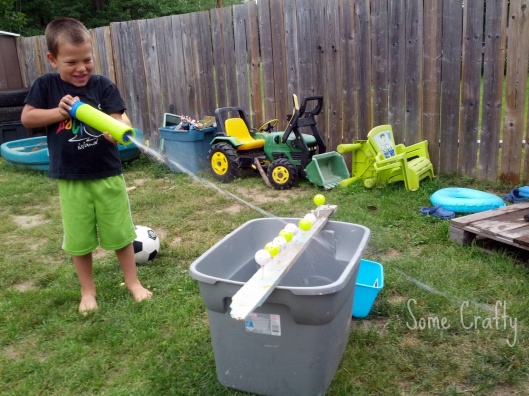
Here’s an easy craft to keep the kids busy on a hot summer day.

You will need:

Golf tees
Plastic golf balls
Scrap wood
Water squirters

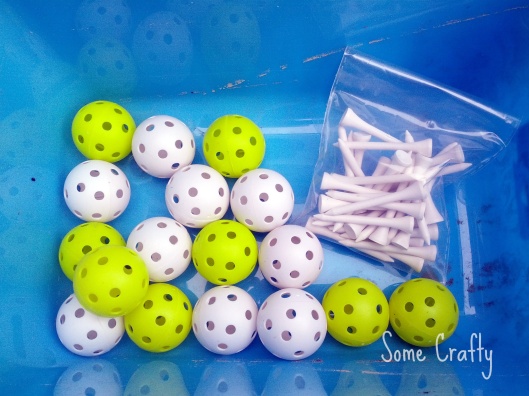
I bought golf tees and plastic golf balls from the dollar store.

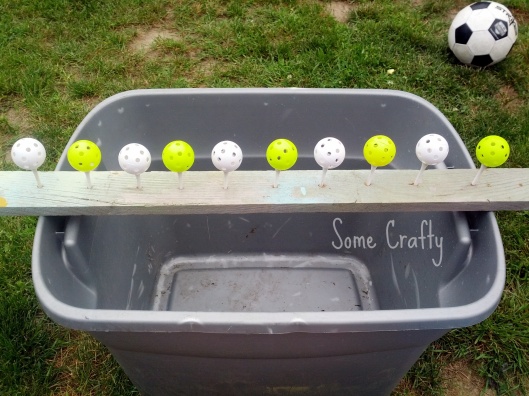
What you will need

What you will need

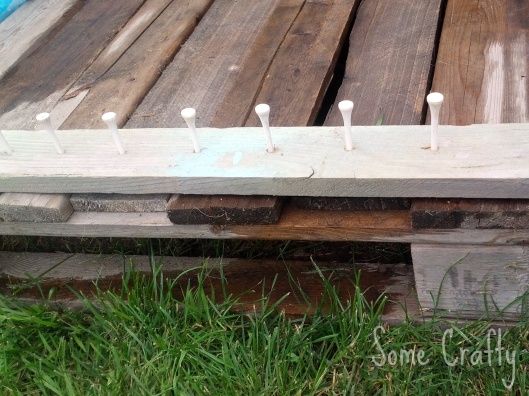
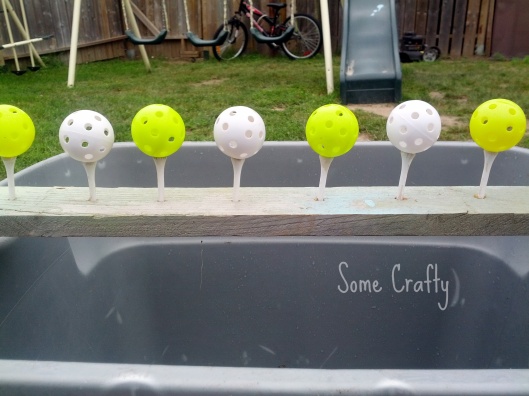
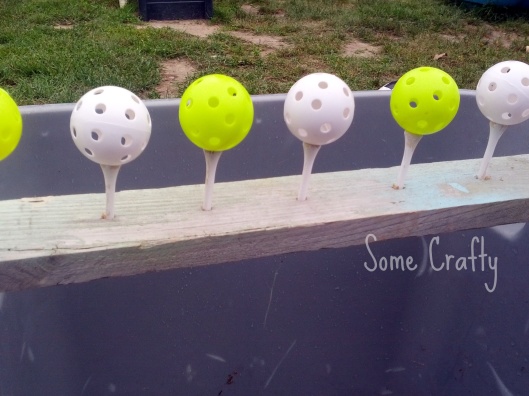
Simply drill some holes in a scrap piece of pallet wood and put the golf tees in the holes. To set the game up, place the wood on a flat surface and place the golf balls on the golf tees…and now you’re ready for some fun!

Making the tee holder

Making the tee holder

Setting up

Setting up

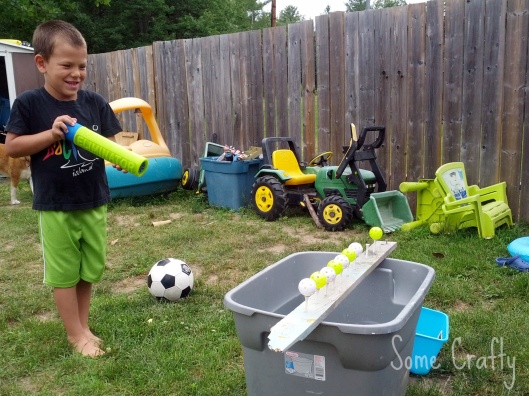
Get Ready

Get Ready

Get Set

Get Set

Aaannnnnnd....GO!!!

Aaannnnnnd….GO!!!

Score!!!

Score!!!

Try using different colored balls, or write numbers on the balls for a different spin on the game or more of a challenge. Or set up a few target boards and have a race!

Have fun!

~Angie

Linking up with:

http://cupcakesandcrinoline.com/2013/07/project-inspired-linky-party-21/?fb_source=pubv1

http://www.redouxinteriors.com/2013/07/link-party-112-and-the-fabulous-features/

Lady G’s New Room!

Tags

, , , , , , , , , , ,

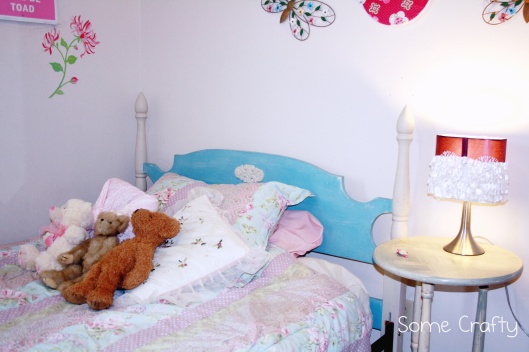
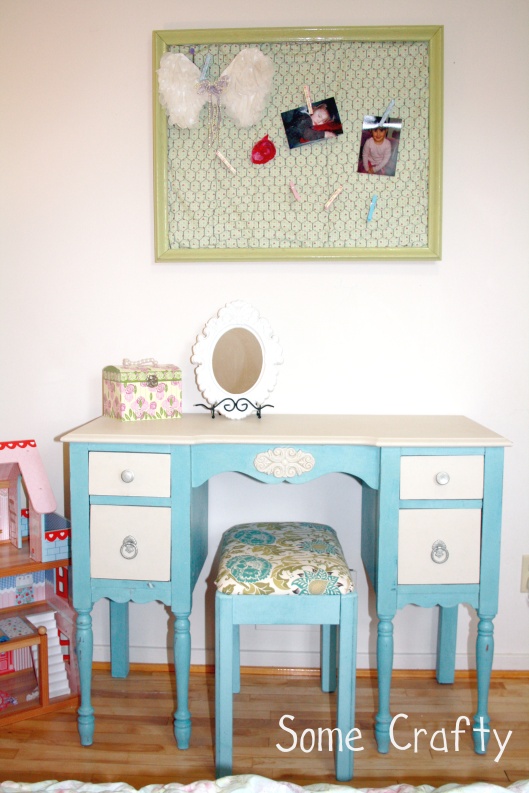
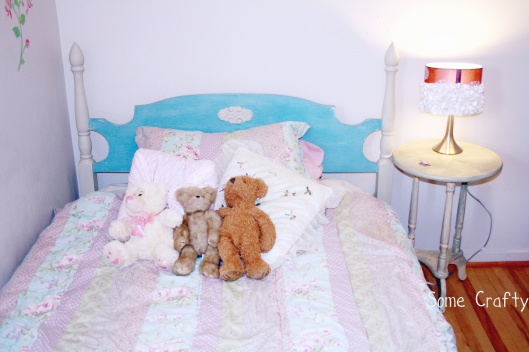
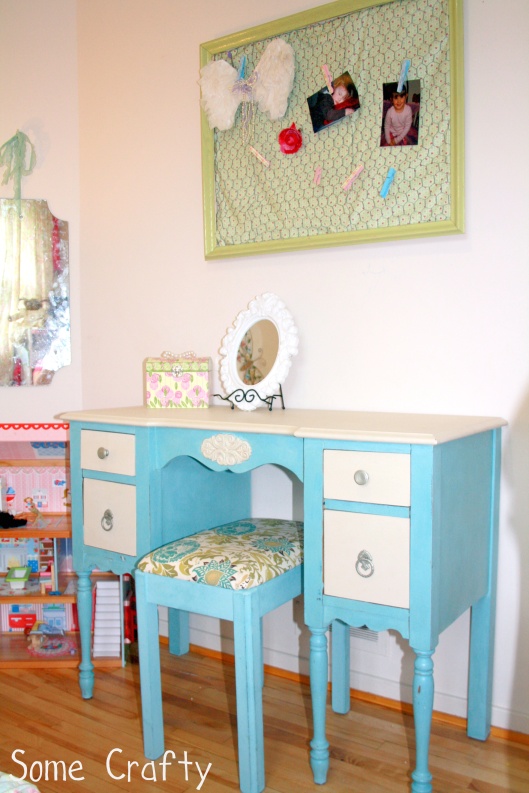
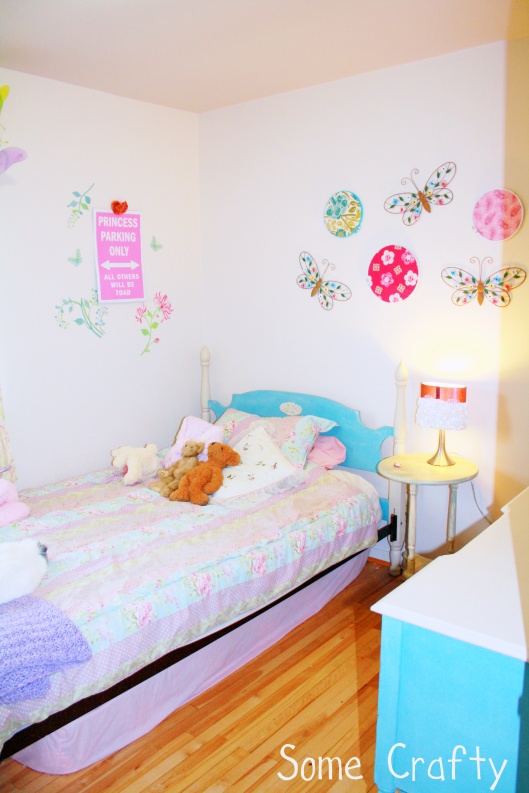
I’m so excited to be able to share this room with you all. I refinished this vanity and this bed frame for Lady G a while ago. Last week, her lovely and talented momma invited me over to see the final product. I think this room is fit for a princess!!!

The Princess Bed

The Princess Bed

The Vanity

The Vanity

Some Crafty

Some Crafty

Some Crafty

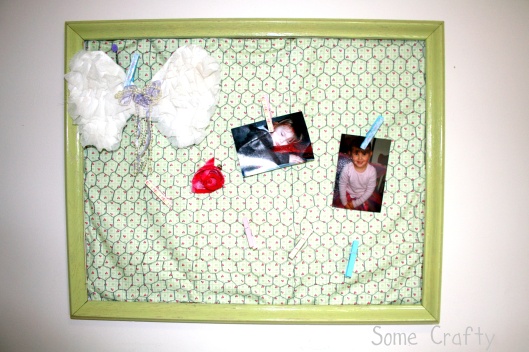
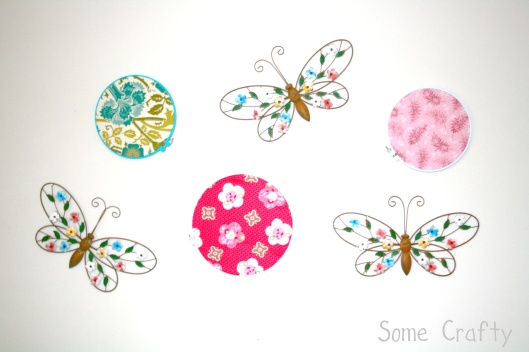
And the finishing touches…isn’t Lady G’s Momma crafty too!

The Memory Board

The Memory Board

Wall Art

Wall Art

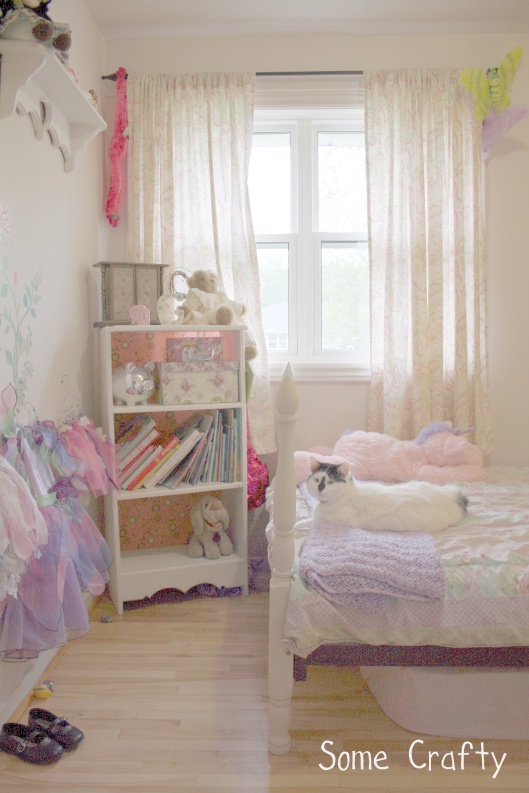
Lady G was so excited to have her room all done up for her. And so was the cat.

Some Crafty

So glad I could be a part of this project. What a lucky girl Lady G is. I’m hoping she’ll invite me over for tea!

~Angie

Quick Craft – Chalk Paint Mason Jars

Tags

, , , , , , , , ,

Chalk paint is all the rage in the crafting world at the moment. It is so easy to use and so versatile! You can paint anything with it with little prep and easy clean up (check out this pin). That makes it a win in my books.

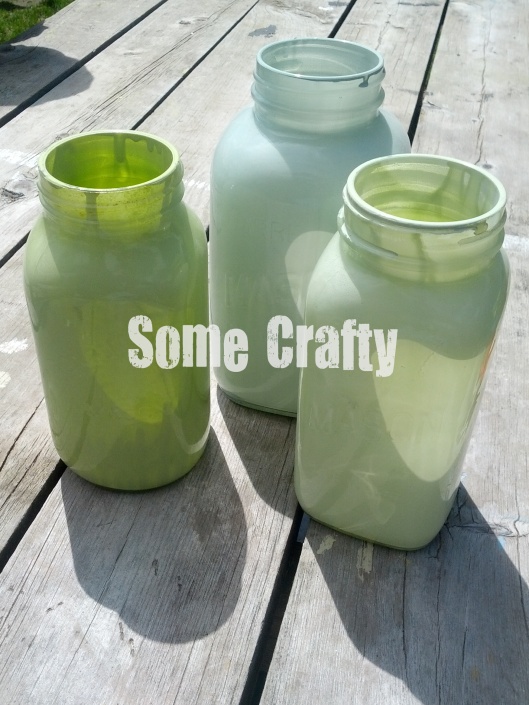
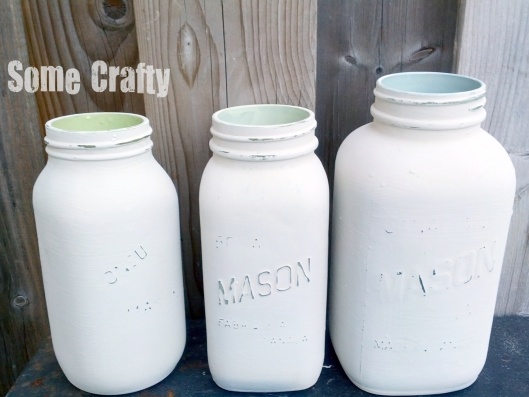
I’ve seen this done around the web lately and decided to give it a try myself. I had picked up these mason jars at a local thrift store and had painted the inside with spray paint (super easy to do!) to match my decor. They sat displayed on the shelf for quite some time, and looked lovely just as they were. But I noticed that I was really enjoying all the decorating posts that used a lot of white with a few accent colors. So, I decided to paint them again, but this time on the outside and with chalk paint.

Mason Jars painted inside with spray paint

Mason Jars painted inside with spray paint

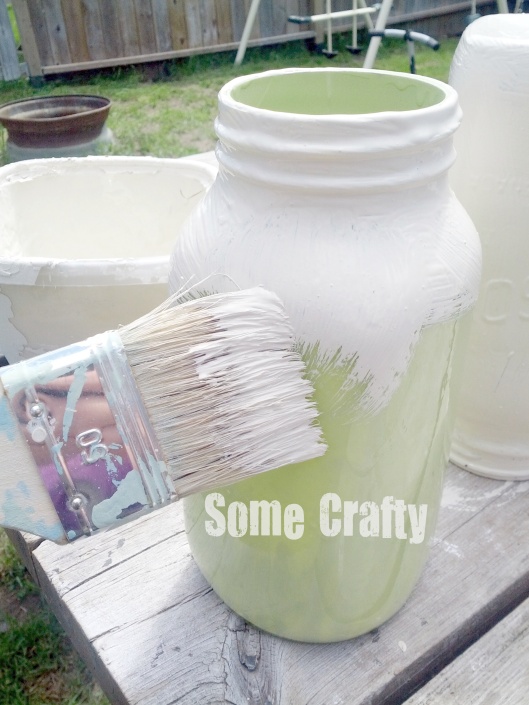
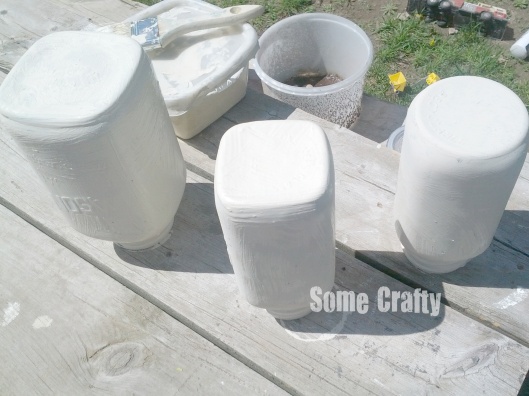
I wiped them down and gave them their first coat. Although I didn’t sand in between each coat, you could if you wanted to. When the first coat dried (20 min or so…super quick) I gave it another coat and let it dry again.

applying the first coat

applying the first coat

drying

drying

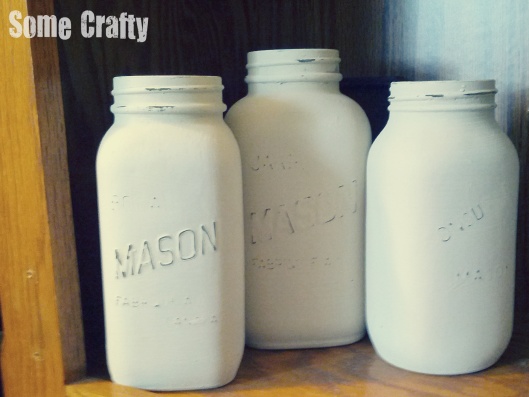
Once they were dry, I took out some sandpaper and lightly distresses in a few areas. What was nice about having already painted the insides of the jars, was that the color showed through in some distressed areas.

distressed and beautiful!

distressed and beautiful!

Some Crafty

Chalk paint is a super easy way to update your decor! What would you paint?

~Angie

Linking up to:

Liz Marie Blog

Inspire Me Linky Party #14

http://www.thecottagemarket.com/2013/06/junkin-joe-features-and-linky-party.html

Keeping It Simple
http://www.keepingitsimplecrafts.com/2013/06/motivate-me-monday-177.html

http://www.settingforfour.com/2013/06/project-inspired-linky-party-no_10.html

Shabby Chic Farmhouse Style Outdoor Table

Tags

, , , , , , , , ,

What do you do when you get served a big heaping basket of lemons? Being the crafty person that I am, I try to make something out of it.

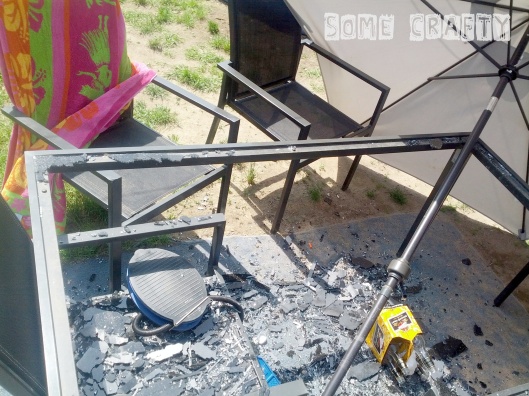
This weekend, a combination of wind and heat did a number on our glass patio table. Let’s just say that I was not impressed with having to clean up the million bits of glass that used to be my table top.

The Before!!

The Before!!

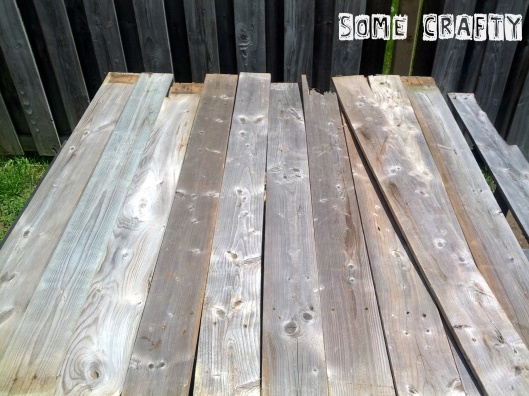
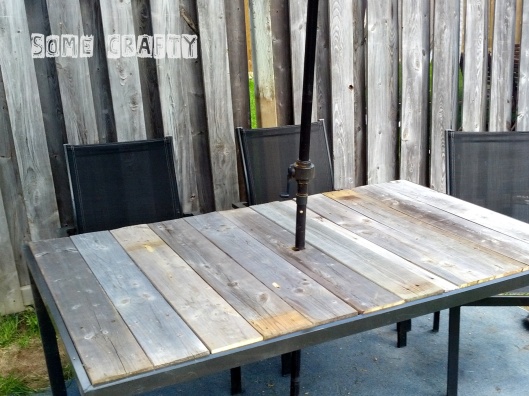
Seeing as there have been a lot of table top redos using barn boards or pallet boards lately, I figured it was the perfect opportunity to put my spin on the trend. And it was about time we had an update to our outdoor furniture anyway. Using some left over fence boards, Hubby and I created a new tabletop for our table.

Laying out the Boards

Laying out the Boards

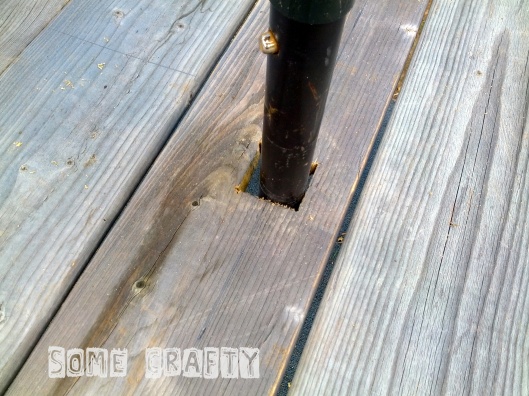
We laid out the boards on top of the table and when we had the final configuration, Hubby cut them down to size. We fit them back onto the table frame. Then Hubby marked out the center of the table top and cut a hole for the umbrella.

Hole for the Umbrella

Hole for the Umbrella

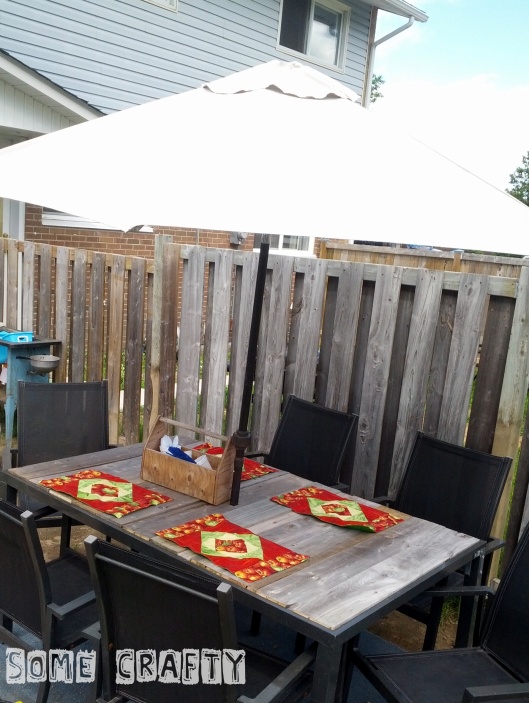
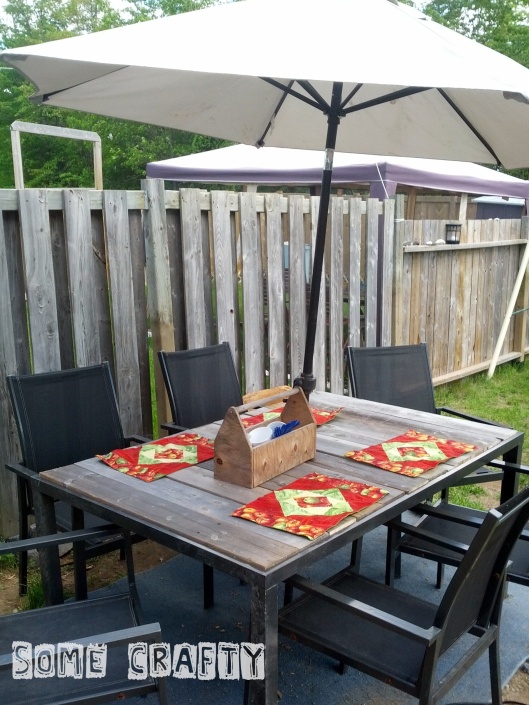
We are now back in action, and ready to enjoy the summer in our new shabby chic farmhouse style table!

Some Crafty

Some Crafty

Shabby Chic Farmhouse Table

Shabby Chic Farmhouse Table

~Angie

Linking up with:
www.remodelaholic.comhttp://www.remodelaholic.com/2013/05/healthy-summer-recipes/


http://www.redouxinteriors.com/2013/06/link-party-107-and-les-features/


http://www.soyouthinkyourecrafty.com/im-crafty-no-49-upcycling/

Vintage Suitcase Side Table

Tags

, , , , , , , , , ,

Some CraftyHave you seen all the creative things people are doing with vintage suitcases? I am in love! I don’t know if it’s because I love anything vintage, or because of all the times I’ve moved in my life (let’s just say that currently, the record in one house is 4 years), or because of all the pins on Pinterest. There are so many possibilities! Besides the more common ‘stack of suitcases’, you can make a pet bed, a chair, or a table. You can even make shelves and drawers or medicine cabinets out of them. Look here for a bit of inspiration.

Needless to say, I have a small collection of vintage suitcases and trunks and this weekend, I finally got around to doing something with one of them.
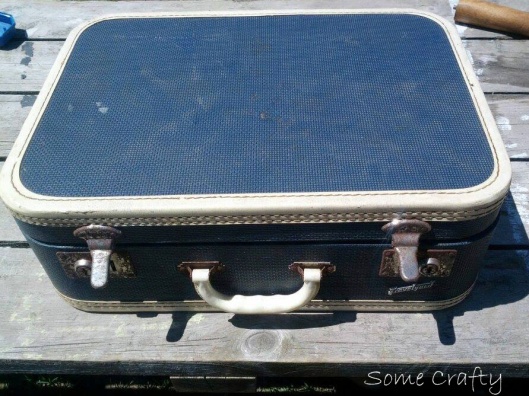
The suitcase...

The suitcase…

I decided to make an end table out of one of mine. You could try the hardware store for legs, but I like to see what I can reuse from something else. So, I hit up some thrift stores to see what I could find. Enter a cute little circle side table that had just the legs I was looking for! And for a whopping $5! Unfortunately, I forgot to take a before pic of the table, but I have a few ideas for repurposing the top.

I removed the legs from the table and set them aside while I gave the suitcase a little tlc.
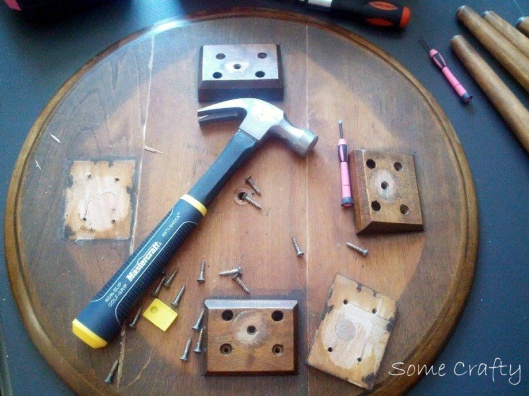
Removing the legs

Removing the legs

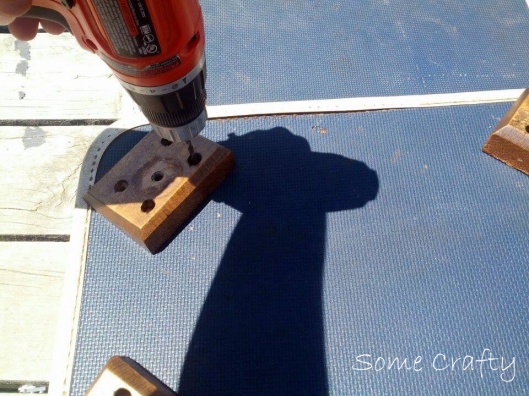
Next up was to position where I wanted the legs to be and drill pilot holes.
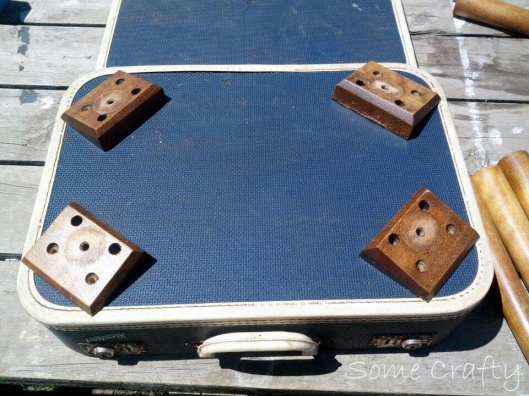
Positioning the legs
Positioning the legs

Drilling the pilot holes

Drilling the pilot holes

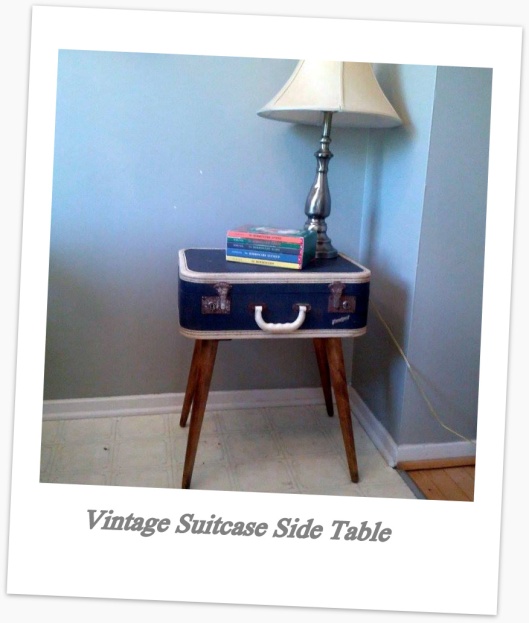
Attach the legs, turn it over, and voila!! Perfect! You can even use the inside of the suitcase to store your journal, or some books, or whatever else you can think of.
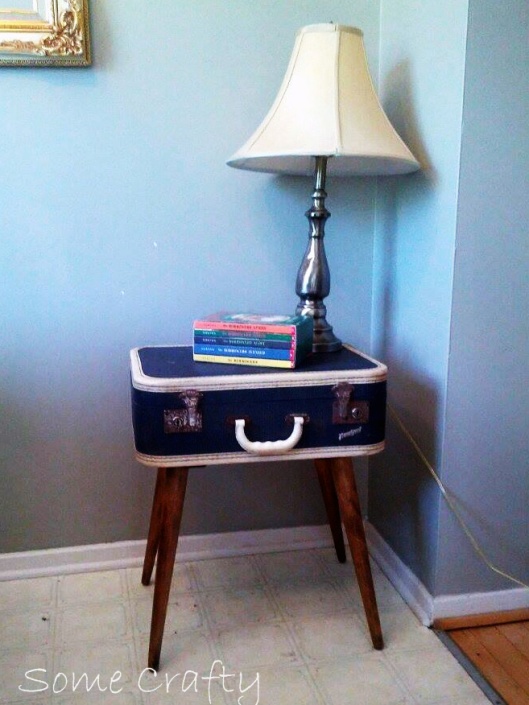
Voila!  A unique side table!

Voila! A unique side table!

Depending on the suitcase, you may want to add a bit of plywood to the inside to make it sturdier. Just cover the plywood with a bit of pretty fabric. And if you’re worried about attaching the legs securely and esthetically, you could use Chicago screws, which will ensure a secure fit without any protruding screw ends.

I have plans for this table in our guest room. Can’t wait to be able to work on it.

What would you make out of a vintage suitcase?

~Angie

Linking up with:

Artsy Chicks Rule

http://www.artsychicksrule.com/2013/05/project-inspired-linky-party-15.html


http://www.redouxinteriors.com/2013/05/link-party-105-and-les-features-plus-i-am-hitting-the-road/

http://www.commonground-do.com/


http://www.lifewelive4.com/2013/05/linkyparty13.html


http://www.artsyfartsymama.com/2013/05/artsy-corner-link-party-3.html


http://www.housewifeeclectic.com/2013/05/creative-showcase-creative-link-up-with.html
A Bed fit for a Princess

Tags

, , , , , , , , , ,

Over the weekend, the princess vanity went to its new home. Such a beautiful piece and Lady G is such a lucky girl! And as Lady G’s mother and I were standing back admiring it we were talking about how the room was going to be decorated. She told me that this was the first piece for Lady G that was not a hand-me-down from her brother. Well, didn’t I have just the piece to create a beautiful set fit for a princess!

Enter this twin bed set. I had originally picked it up (each part in a different place!) with intentions of building a bench out of it. But, clearly, this bed was destined for bigger and better things! And as soon as Lady G’s mother got a look at it, her redecorating plans got a kick-start! We started throwing ideas around for accessories and such! Let me tell you, this is going to be a beautiful room!

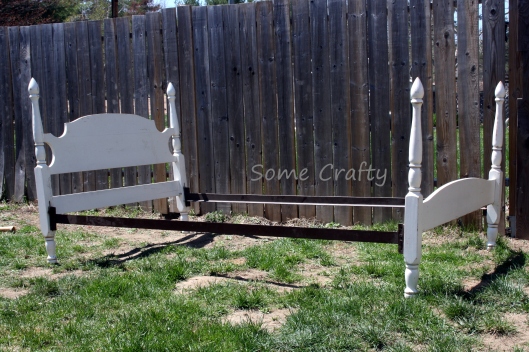
Before...she needs some work

Before…she needs some work

The only problem with the bed was that there were no bed rails…all I had was the head and foot boards. Luckily, the next day as I was running errands, I stopped in to one of the local thrift stores that I frequent and there they were (for $4.00)!!!! Sweet! And a perfect fit (as sometimes older bed rails can be fussy). I also picked up another head and foot board set that I hope to turn into a bench.

Now, back to the bed frame. The original paint finish was chipping and there were some stickers and tape that needed to be removed. A scraper got all of the stickers and tape off and a good sanding smoothed out the surface. I gave it a good wipe down and filled in the nicks and dents.

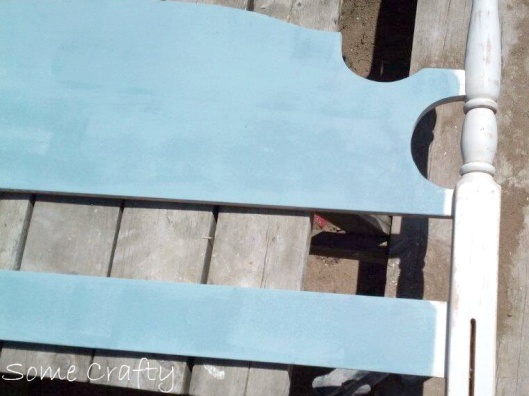
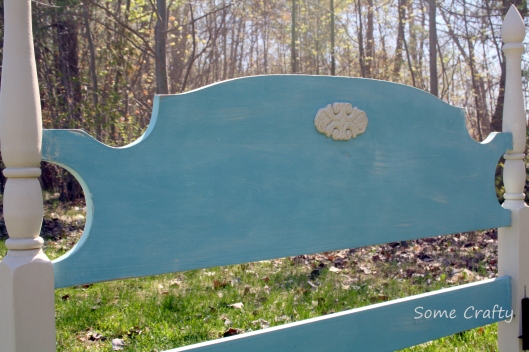
Time for paint! Since this piece was to match the princess vanity, I used the same blue and off white. I painted the posts white and the boards blue.

And the blue goes on

And the blue goes on

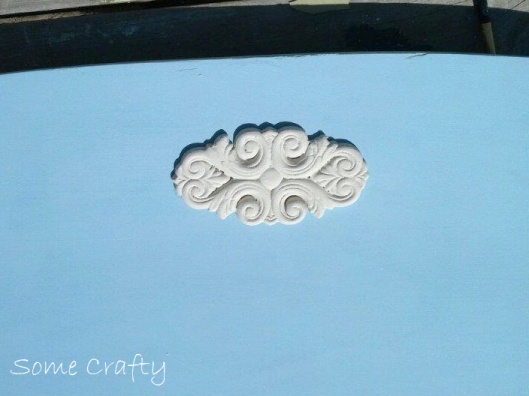
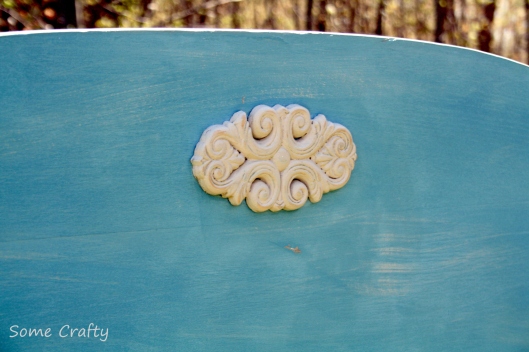
A little medallion attached to the headboard and a little distressing gave this piece the character I was looking for.

Adding some Bling

Adding some Bling

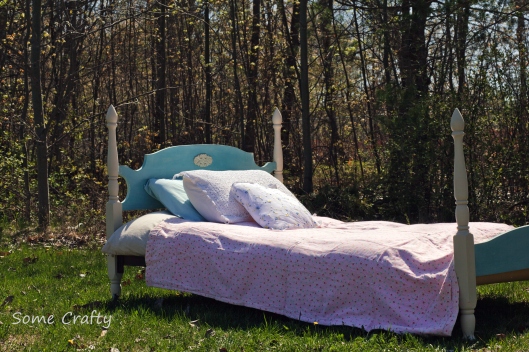
And now, the finished product!!!

The Princess Bed

The Princess Bed

Some Crafty

Some Crafty

Lady G’s mom is so pleased with it! She can’t wait to surprise her little girl with a super girly bedroom that will grow with her. I so loved being a part of this room. Now, off to find something else to paint!

~Angie

Linking up to:

Liz Marie Blog

Love of Family and Home

DIY Show Off

 photo def9d729-fafe-49a7-b84a-1673510c5807.jpg

http://www.artsychicksrule.com/2013/05/happy-monday-project-inspired-linky-party-14.html